
If you’ve just spent hours perfecting your Shopify store - choosing products, designing the layout, and refining your branding - you’re closer than ever to launching. But there’s a critical step many sellers overlook: ensuring your store is fully functional for payments, shipping, and taxes. Without these components, your customers can’t pay, receive their orders, or shop with confidence. The good news? Setting them up is easier than it looks.
Whether you’re a new seller or an experienced e-commerce owner refining your processes, this guide will break it all down into actionable steps that ensure your Shopify store runs smoothly from day one.
Why Payments, Shipping, and Taxes Matter
For an online business to function successfully, there are three pillars that must work seamlessly together:
- Payments: Allows you to collect revenue securely and smoothly.
- Shipping: Ensures that orders are delivered promptly and accurately.
- Taxes: Keeps your business compliant and avoids legal headaches.
By addressing these areas early, you’ll save yourself time, reduce errors, and give your customers a professional shopping experience.
sbb-itb-81460ea
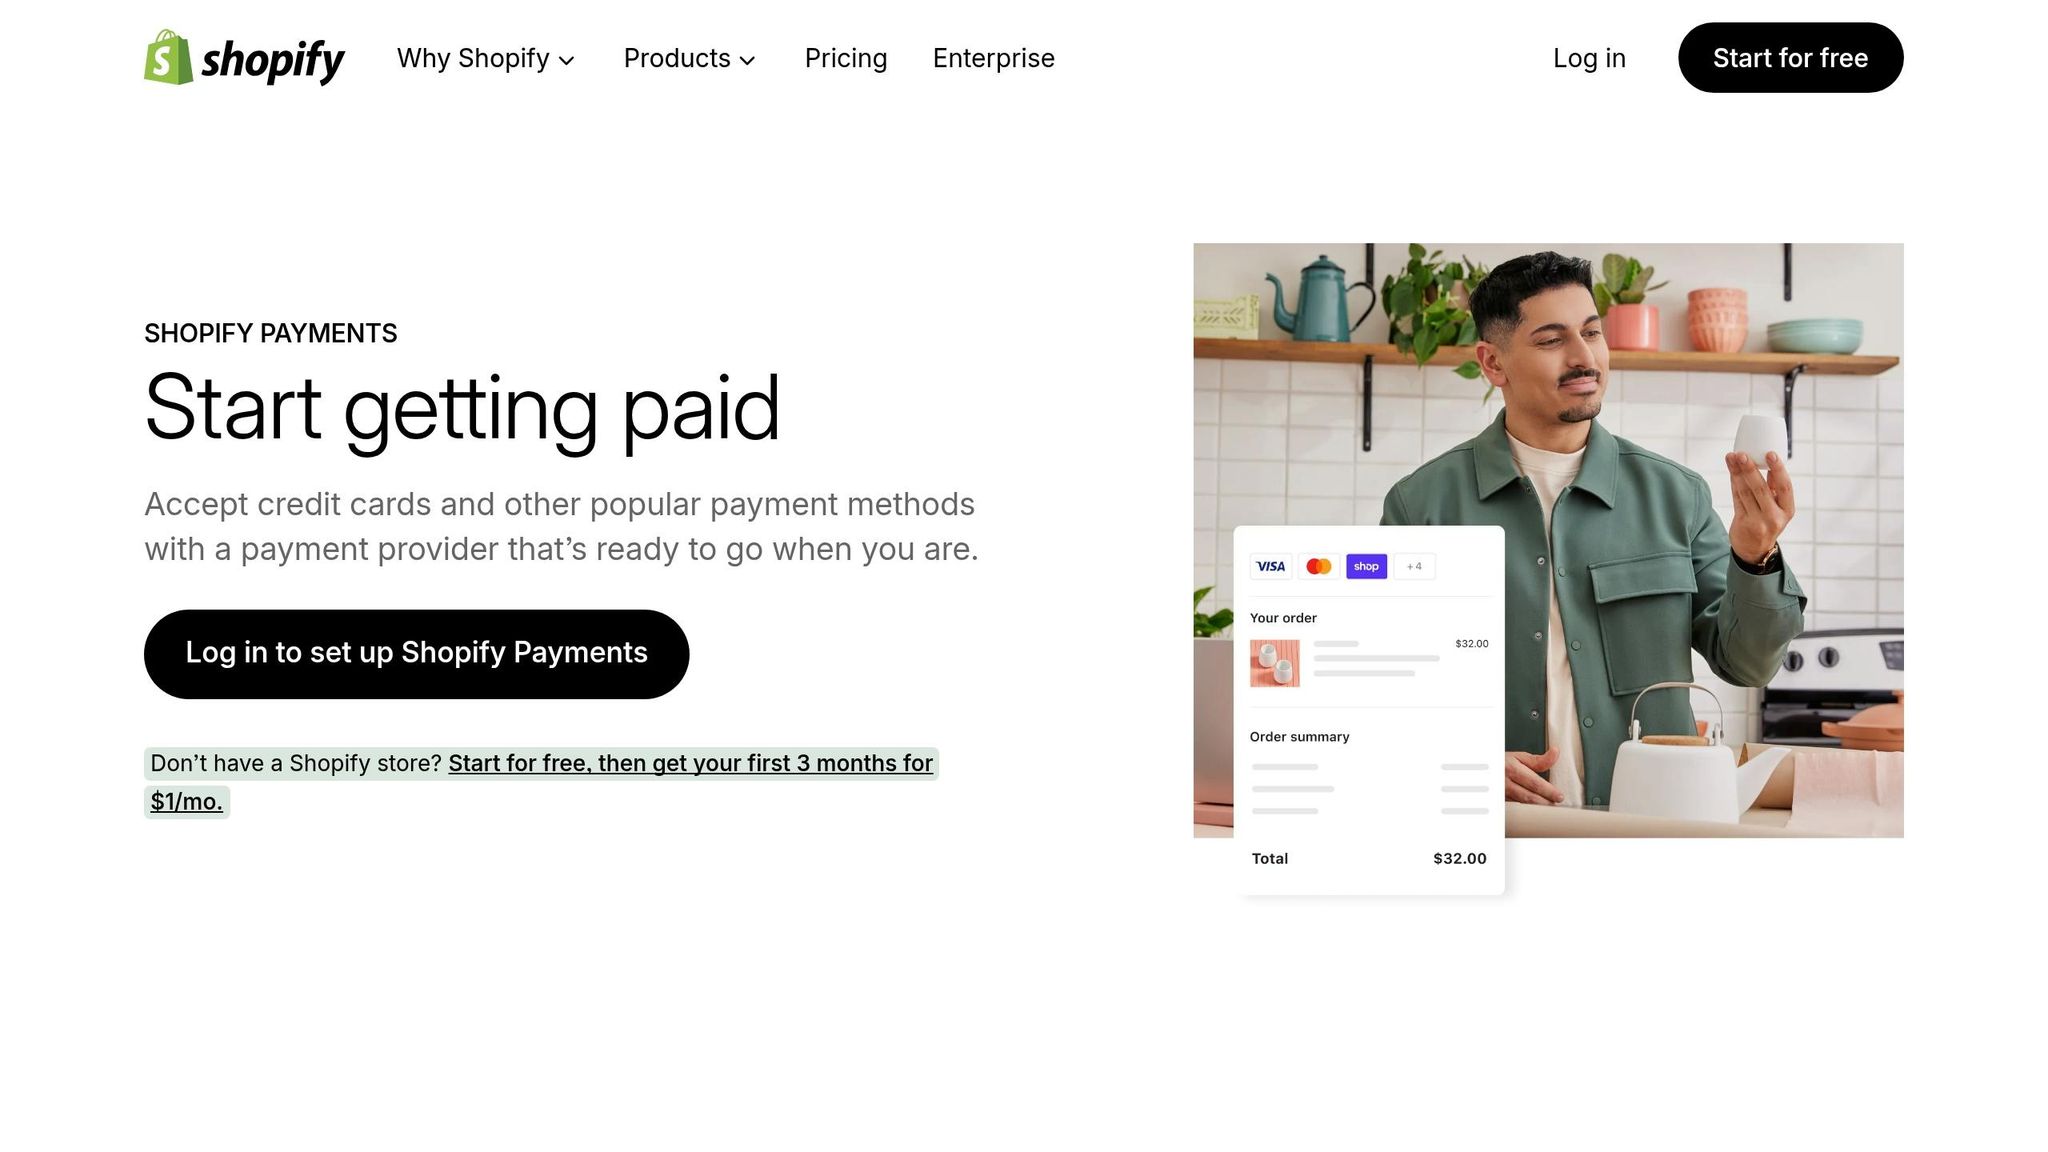
Setting Up Shopify Payments: Get Paid Without Hassle
Step 1: Activate Two-Step Authentication
Before you can use Shopify Payments, you must enable two-step authentication for added security. Here’s how:
- Go to your Shopify profile and navigate to Security Settings.
- Click Turn On Two-Step Authentication and choose your preferred authentication method: SMS, authenticator app, or mobile prompts.
- Save your recovery codes in a secure location. Avoid using unsafe storage like a digital notes app.
This layer of security not only protects your store but is also a requirement for activating Shopify Payments.
Step 2: Verify Your Identity
Shopify requires identity verification to ensure compliance with financial regulations. Prepare the following documents:
- A government-issued ID like a passport or driver’s license.
- Tax identification details (Social Security Number [SSN], Individual Tax Identification Number [ITIN], or Taxpayer Identification Number [TIN]).
Navigate to Settings > Payments in your Shopify admin panel and click the prompt to set up Shopify Payments. Follow these steps:
- Select your business type: Individual if you’re just starting out or Business if registered as an LLC, corporation, or partnership.
- Enter your legal name, date of birth, and contact details exactly as they appear on official documents.
- Upload the required identification document.
Pro Tip: Ensure all information matches your official documents. Even small discrepancies (e.g., "Rob" instead of "Robert") can delay approval.
Step 3: Configure Bank Account Details
Your bank account should be set up to accept the payouts from Shopify Payments. Most standard checking accounts work, but verify your bank supports:
- ACH transfers (for U.S. accounts).
- EFT, SWIFT, or BEEX transfers for international sellers.
Step 4: Enable Additional Payment Methods
To give your customers more options, consider adding secondary payment methods like PayPal or third-party credit card processors. You can activate these directly in the Payments Settings section.
Shipping Setup: Deliver Orders Like a Pro
Shipping can seem overwhelming at first, but Shopify streamlines many of the details. Here’s how to get started:
Step 1: Configure Shipping Zones
Shipping zones determine where your products can be delivered and at what cost. Shopify automatically creates two default zones: Domestic and International. To customize:
- Go to Settings > Shipping and Delivery.
- Under each zone, click Add Rate to assign a shipping cost. Options include:
- Flat Rate: Charge a fixed fee (e.g., $5.95 per order).
- Calculated Rate: Let Shopify determine rates based on carrier pricing, distance, and weight.
- Free Shipping: Increase conversions by including shipping costs in your product price.
Pro Tip: Use Shopify’s "Sidekick" assistant to automate processes like assigning shipping rates by product weight or size.
Step 2: Add New Shipping Zones for Specific Countries
If you ship internationally, you may want to create specific zones for countries with unique shipping rates. Here’s how:
- Remove the country from the default "International" zone.
- Create a New Zone by naming it, selecting the country, and adding the appropriate shipping rates.
Step 3: Account for Package Weights
Accurate shipping weights are critical to avoid undercharging customers. Add packaging dimensions and weights in Shipping and Delivery > Packages. Set a default package or assign specific packages to individual products.
Step 4: Offer Local Delivery or Pickup
For sellers with physical locations, enabling local delivery or store pickup is a customer-friendly option:
- Define a delivery radius or list eligible postal codes.
- Set minimum order values and optional delivery fees.
- For pickup, specify instructions and hours of availability.
Taxes: Stay Compliant and Avoid Surprises
Taxes can feel complicated, but Shopify automates much of the process for you. Follow these steps to get compliant:
Step 1: Configure Sales Tax Collection
Shopify calculates sales tax based on your store’s location and where you ship products. To set it up:
- Go to Settings > Taxes and Duties.
- Add your tax registration ID for the appropriate jurisdictions.
- Enable tax collection for each region.
Step 2: Include Taxes in Product Prices (Optional)
In some regions, customers expect prices to include tax (e.g., Europe). Enable this feature to display tax-inclusive pricing:
- Scroll to Global Settings in the tax section and check the box for Include Sales Tax in Product Prices.
Step 3: Verify Tax Settings
Perform test orders using various shipping and billing locations to confirm that taxes and shipping calculate correctly. This ensures your customers won’t encounter surprises at checkout.
Fulfillment: Streamline Your Order Flow
Fulfillment involves preparing, packing, and shipping orders efficiently. Here’s how to organize your process:
- Prepare Packing Slips and Labels: Use Shopify’s built-in tools to print slips and generate shipping labels directly from your admin panel.
- Handle Partial Orders: If an item is backordered, Shopify allows you to fulfill the rest of the order immediately.
- Enable Self-Service Returns: Simplify returns by allowing customers to initiate them through their accounts. Customize your return policy in Settings > Policies.
Pro Tip: Buy shipping labels directly through Shopify to take advantage of discounted carrier rates. The costs will be added to your Shopify billing account for easy tracking.
Key Takeaways
- Enable Two-Step Authentication: Protect your Shopify account and ensure compliance with Shopify Payments.
- Accurate Shipping Details Are Essential: From package weights to international rates, small errors can cost you.
- Automate Tax Calculations: Shopify simplifies these processes, but test your settings to ensure accuracy.
- Offer Multiple Payment Methods: Streamline checkout for customers by enabling wallets like Shop Pay, Apple Pay, and Google Pay.
- Set Up Shipping Zones Thoughtfully: Customize rates for domestic and international customers to avoid over- or undercharging.
- Leverage Shopify Tools: Use features like Sidekick and Shopify’s label printing to save time and boost efficiency.
- Test Your Setup Before Launching: Run test orders to identify any issues with payments, taxes, or shipping workflows.
Final Thoughts
Setting up payments, shipping, and taxes might not be glamorous, but they are foundational to running a successful e-commerce business. By following the steps outlined above, you’ll create a seamless shopping experience that builds trust with your customers and ensures your operations run smoothly.
With these essentials in place, you’ll be ready to focus on what matters most: growing your business and achieving long-term success. Happy selling!
Source: "The OFFICIAL Shopify Tutorial For Beginners 2026 (Part 2)" - Learn With Shopify, YouTube, Feb 16, 2026 - https://www.youtube.com/watch?v=ohn-47s9GsA
